How to Install Custom MX Graphics on Your Motocross
Installing custom MX graphics is one of the simplest and most effective ways to give your motocross bike a fresh, personalized look. Whether you’re showcasing your team colors, repping your favorite brands, or simply expressing your unique style, a well-applied graphic kit can turn heads both on and off the track. However, if you’ve never tackled this task before, the process might seem a little daunting.
Don’t worry—we’ve got you covered with this step-by-step guide to applying custom MX graphics.
Tools You’ll Need

Before diving in, gather the following tools to make the job easier:
- Custom MX graphics kit
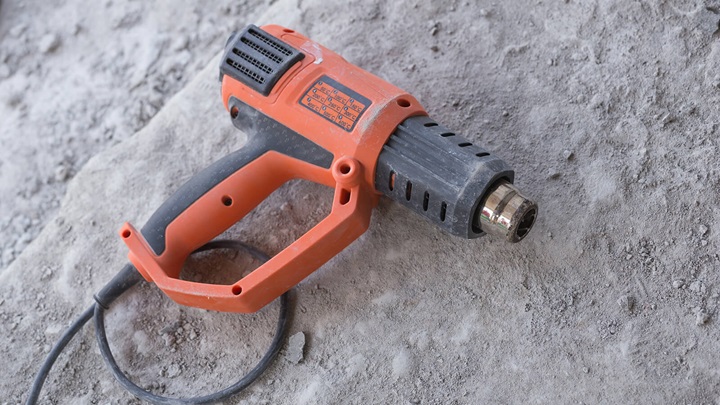
- Heat gun or hair dryer
- Rubbing alcohol or plastic cleaner
- A clean, lint-free cloth
- Utility knife or precision cutter
- Squeegee or credit card (for smoothing)
- Masking tape (optional)
Having these essentials on hand ensures a smoother installation process.
Step 1: Prepare Your Bike
Proper preparation is half the battle when applying custom MX graphics. Start by removing your old graphics, if you have any. A heat gun or hair dryer can help loosen the adhesive—just be careful not to overheat the plastic. Peel slowly to avoid leaving behind sticky residue.
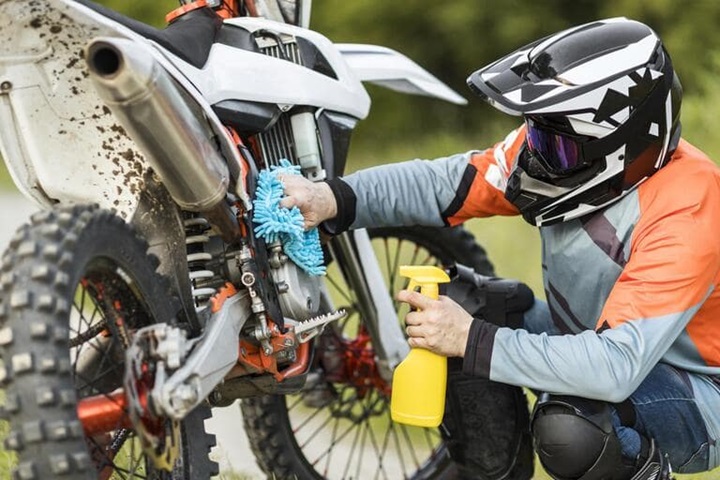
Once the old graphics are gone, clean the plastics thoroughly with rubbing alcohol or a plastic cleaner. Dirt, grease, or old adhesive residue will prevent the new graphics from adhering properly. Use a lint-free cloth to wipe everything down and let it dry completely.
Step 2: Test Fit the Graphics
Before peeling off the backing, lay each piece of your custom MX graphics kit over the corresponding area of the bike. This step ensures you understand where each piece goes and how they align. Some riders use masking tape to hold the graphics temporarily in place while they adjust the fit.
This dry run also helps you spot potential alignment issues early, so you can make corrections before committing to the adhesive.
Step 3: Start with Smaller Pieces

Begin with the smaller sections of the graphics kit, such as fork guards or side panels. These areas are easier to manage, which is perfect for getting the hang of the application process.
Peel back a small section of the adhesive backing (don’t remove it all at once!) and position the graphic carefully. Use your fingers to press the exposed area onto the plastic, ensuring a smooth, bubble-free surface.
Step 4: Apply Larger Graphics
For larger pieces, like the shrouds or rear fender, you’ll need to work slowly and methodically. Start at one end and gradually peel off the backing while smoothing the graphic onto the surface. Use a squeegee or credit card to eliminate bubbles and wrinkles as you go.
If you encounter stubborn bubbles, gently lift the graphic and reapply. A heat gun can also help here by softening the material and making it more pliable for adjustments.
Step 5: Use Heat for a Perfect Fit
Once the graphic is fully applied, use a heat gun or hair dryer on low heat to gently warm the material. This step helps the adhesive bond more effectively and makes the graphic conform better to curved surfaces. Be cautious not to overheat—it’s about softening, not melting.
After heating, use the squeegee to press down firmly, especially along edges and corners. This ensures a strong seal and prevents peeling.
Step 6: Trim Excess Material
If any edges of the graphic extend beyond the plastic, use a utility knife or precision cutter to trim them. A clean edge not only looks better but also reduces the chance of peeling over time.
Step 7: Let It Cure
After installing the graphics, let them sit for at least 24 hours before riding. This curing period allows the adhesive to fully set, ensuring maximum durability. Avoid washing your bike or exposing it to extreme conditions during this time.
Pro Tips for a Flawless Finish
- Work in a clean, well-lit area: Dust and dirt are your enemies during application.
- Take your time: Rushing increases the chances of mistakes, so be patient.
- Heat is your friend: Proper use of a heat gun can make all the difference in achieving a professional finish.
- Practice on scrap pieces: If you’re nervous, practice applying a small section of scrap graphic first to get a feel for the process.
Maintaining Your Custom MX Graphics
Once your custom MX graphics are installed, proper care is essential to keep them looking sharp. Wash your bike with a mild soap and water after each ride to prevent dirt buildup, and avoid using harsh chemicals or pressure washers directly on the graphics. Inspect regularly for peeling edges and address them promptly to extend the life of your kit.
Final Thoughts
Installing custom MX graphics might take a bit of effort, but the result is worth it. Not only will your bike look amazing, but the added layer of protection can also save you money on repairs and replacements in the long run.
With the right tools, patience, and a high-quality graphics kit, your motocross bike will look track-ready in no time. So gear up, follow these steps, and ride with confidence knowing your bike stands out from the crowd!
